Dashboard – End Bracket Support Repair
Words and pictures by club member
Having noticed that the right-hand side dashboard plastic mounting bracket had started to crumble around the mounting holes, I decided to have a go at repairing it with something more permanent. Note, that I am not a fabricator, or a paint sprayer so please do not judge me!!
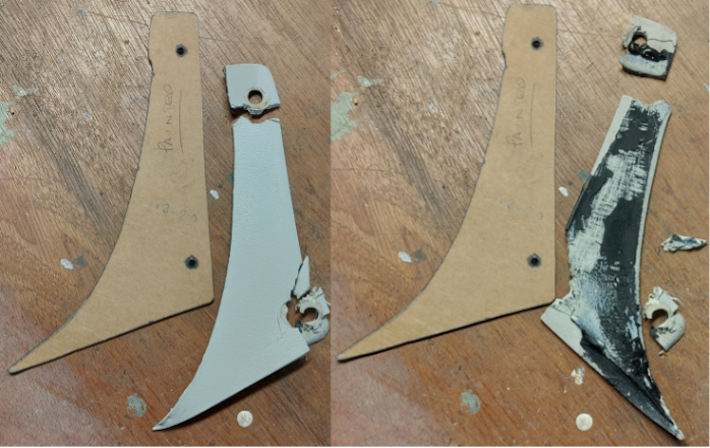
Below you can see that someone had already had a go at repairing the bracket previously by using a shaped piece of plastic, painting it, and then using Tiger Seal (or another black PU adhesive) to attach the plastic to the remainder of the original dashboard bracket.
I carefully separated the broken-shaped piece of plastic from the remains of the original dashboard bracket and made up a cardboard template.
Front of the shaped plastic bracket. The back side of the bracket with Tiger Seal.

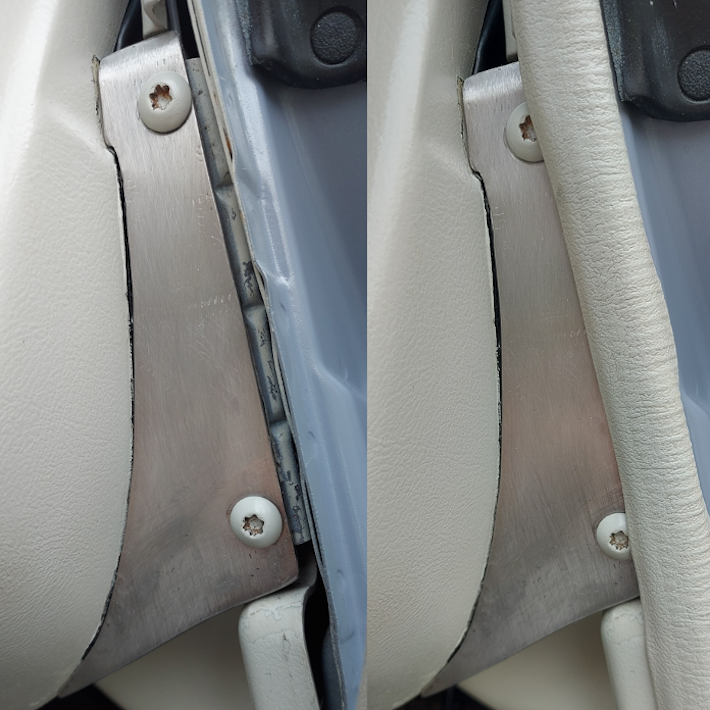
I fabricated a piece of shaped 2mm stainless steel and glued it to the remainder of the dashboard bracket with 24-hour epoxy resin.
Shaped Stainless bracket attached.

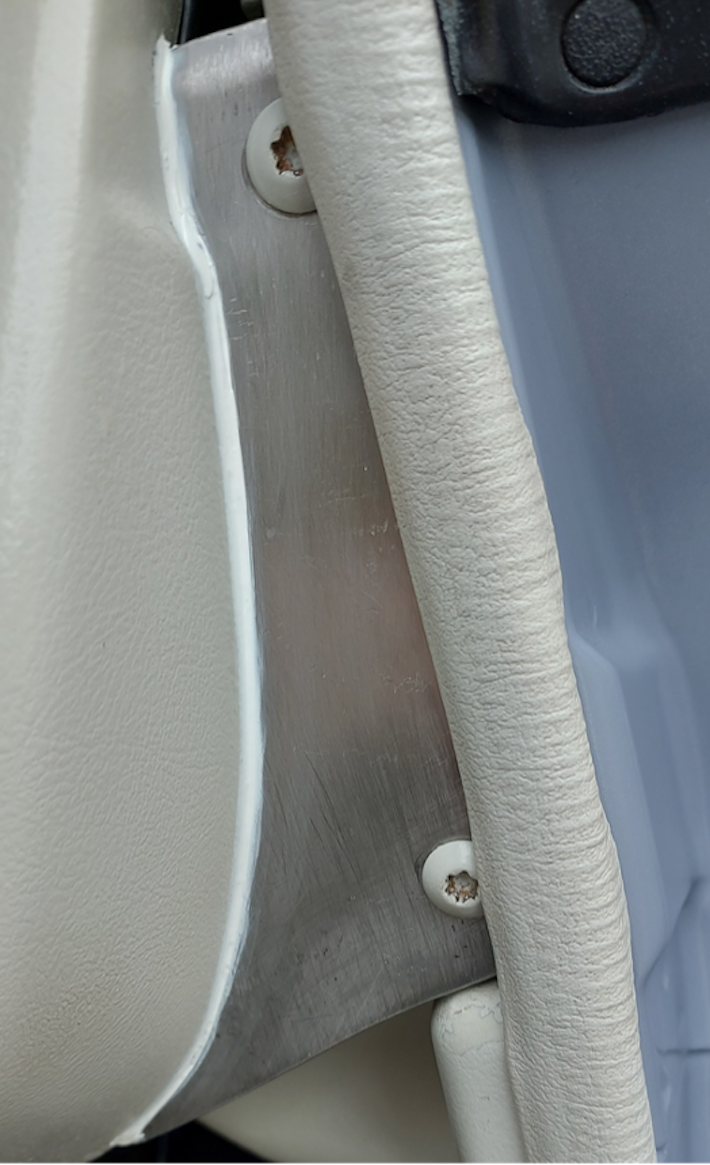
Then I tidied up the edge between the dashboard and the metal bracket with a fine bead of PU adhesive (I used PU adhesive because you can paint it).
The gap between the dashboard and the Stainless-Steel bracket is sealed with PU adhesive.

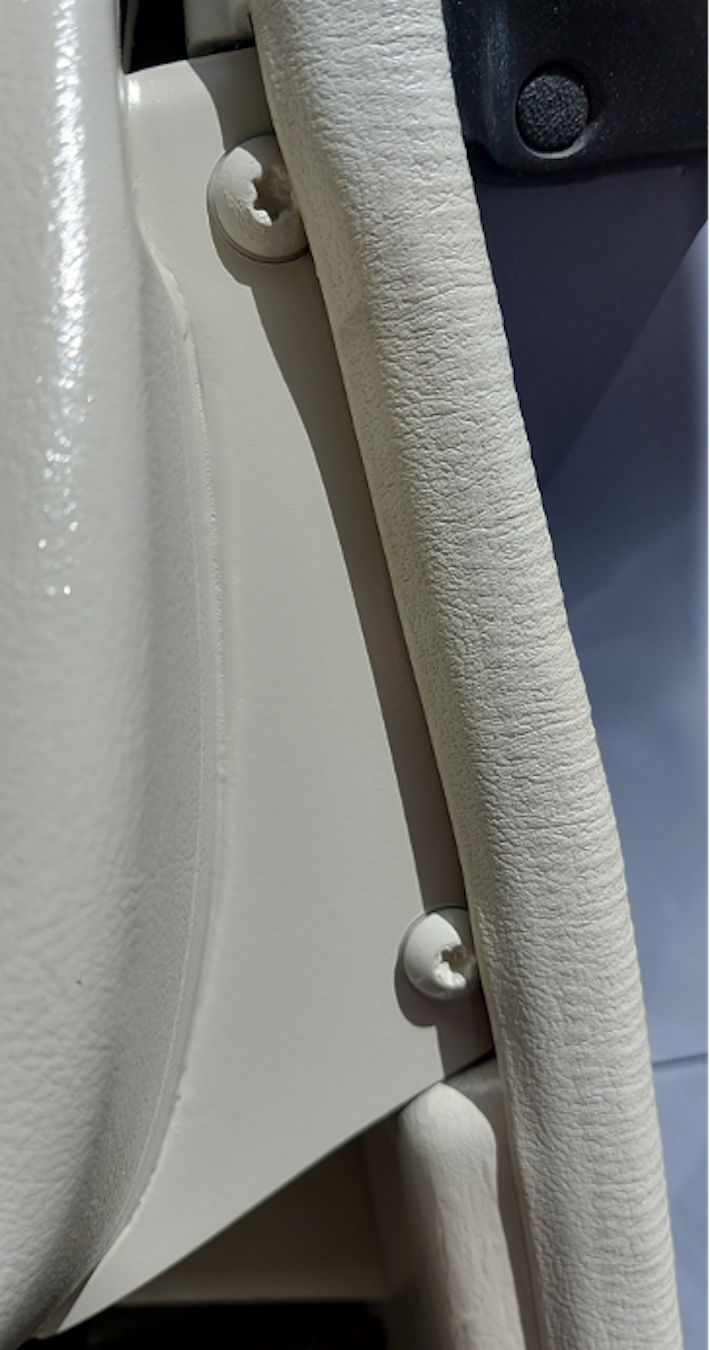
Finally, I painted the new Stainless-Steel bracket with etching primer, followed by the Figaro Shop’s Interior Ivory Paint.
Note, I fitted two 6mm translucent plastic washers between the two fixing screws and the newly painted Stainless-Steel brackets to protect the new paint. I will blend the new edge of the paint into the existing dashboard paint when it has fully hardened.


